7 Diastasis Recti Exercises For Postpartum Ab Separation
If you’re dealing with ab separation after pregnancy—whether you had a vaginal birth or a C-section—you’re not alone.
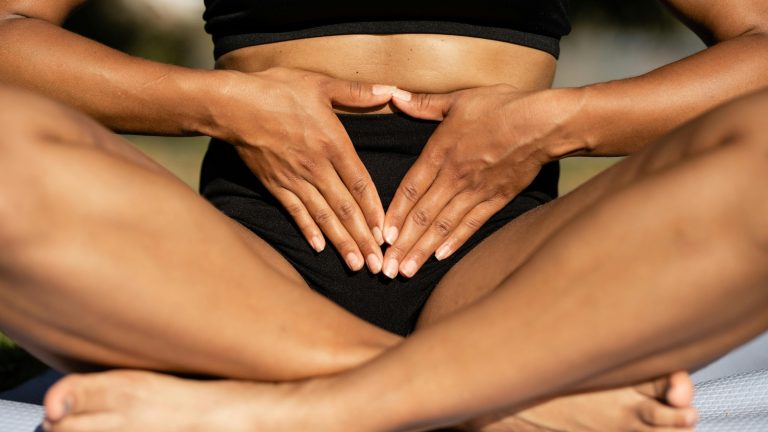
That soft bulge or gap down the center of your belly? That’s likely diastasis recti, and it’s incredibly common among new moms.
But here’s the good news: with the right diastasis recti exercises, you can begin to heal your core, reconnect with your body, and feel stronger from the inside out. In this blog, I’m sharing 7 safe and effective diastasis recti exercises that support both core and pelvic floor recovery—no crunches, no sit-ups, and no guesswork.
Whether you’re weeks or years postpartum, this routine is a gentle but powerful way to rebuild strength and confidence from the core outward.
1. Standing Diaphragmatic Breathing

Why you should do it: This gentle breathing exercise activates your deep core and pelvic floor muscles, creating a solid foundation for all other movements.
Symptoms it can help with: Bloated belly, lower back pain, and poor posture after pregnancy.
Step-by-step:
- Stand tall with feet hip-width apart, shoulders relaxed.
- Place your hands on the sides of your ribcage or belly.
- Inhale slowly through your nose, feeling your ribs expand 360° (side, front, and back).
- Exhale through your mouth, gently pulling your belly in and up (like zipping up a jacket).
- Repeat for 8-10 slow breaths, focusing on controlled movement.
Pro tip: Breathe fully into your ribcage, not just your belly, to engage the deep core.
2. Quadruped Diaphragmatic Breathing

Why you should do it: This position uses gravity to help your deep core work in a low-pressure, supportive way – perfect for healing diastasis.
Symptoms it can help with: ‘Coning’ or bulging in your belly, low back discomfort, and tension in your neck or shoulders.
Step-by-step:
- Start on hands and knees (wrists under shoulders, knees under hips).
- Keep your back flat and spine neutral.
- Inhale deeply through your nose, expanding your ribs.
- Exhale through your mouth, gently drawing your belly in and up, without rounding your back.
- Repeat for 8-10 slow breaths.
Pro tip: Keep your neck long and shoulders relaxed as you breathe.
3. Side Lying Hip Lift

Why you should do it: It targets your obliques and lateral stabilizers, which are key for core and pelvic control – especially important for postpartum healing.
Symptoms it can help with: Hip instability, low back pain, and feeling ‘wobbly’ when moving.
Step-by-step:
- Lie on your side with your legs bent at a 90° angle, knees stacked.
- Keep your bottom elbow bent and head supported.
- Inhale to prepare.
- Exhale as you lift your hips off the ground, pressing into your bottom knee and forearm.
- Hold for 1-2 seconds, then slowly lower.
- Repeat 8-10 reps per side.
Pro tip: Move slowly and focus on feeling your side waist muscles working, not just how high you lift.
4. Side Lying Fire Hydrant

Why you should do it: It strengthens the glutes and hips while keeping your core engaged, improving balance and reducing strain on your low back.
Symptoms it can help with: Hip pain, knee discomfort from hip weakness, and feeling unsteady during daily tasks.
Step-by-step:
- Lie on your side, bottom leg bent, top leg bent at 90°.
- Place your top hand in front of your chest for balance.
- Inhale to prepare.
- Exhale as you lift your top knee (like a dog lifting its leg), keeping your pelvis steady.
- Lower with control.
- Repeat 10-12 reps per side.
Pro tip: Keep your hips stacked and avoid tipping backward – smaller, controlled lifts are most effective!
5. Side Lying Hip Internal Rotation

Why you should do it: This move improves hip mobility and balances your core, preventing imbalances that can strain your abs and back.
Symptoms it can help with: Hip pinching, SI joint discomfort, and deep core imbalances postpartum.
Step-by-step:
- Lie on your side, bottom leg straight, top leg bent at 90° resting on a pillow or block.
- Keep your top knee and foot stacked.
- Inhale to prepare.
- Exhale as you rotate your top thigh inward (moving your foot up toward the ceiling).
- Lower slowly.
- Repeat 10-12 reps per side.
Pro tip: Focus on small, precise movements – let your deep hip muscles (not your outer hip) do the work.
6. Core Stability with Leg Out

Why you should do it: This exercise challenges your core to stay strong and steady as you extend a leg – safely training the deep core without overloading healing abs.
Symptoms it can help with: Bulging belly when lying down, lower back pain, and difficulty holding good posture.
Step-by-step:
- Lie on your back with knees bent, feet flat, arms by your sides.
- Inhale to prepare.
- Exhale as you extend one leg out slowly, keeping your hips stable and low back neutral.
- Inhale to bring the leg back in.
- Alternate legs, repeating 8-10 reps per side.
Pro tip: Keep your ribs down and spine neutral, and use a slow exhale as you reach the leg out.
7. Deep Core Activation Table Top

Why you should do it: Table Top is a safe, supported way to strengthen your deep core and re-train your abs after pregnancy.
Symptoms it can help with: Feeling ‘loose’ or separated in your abs, poor posture, and lower back discomfort.
Step-by-step:
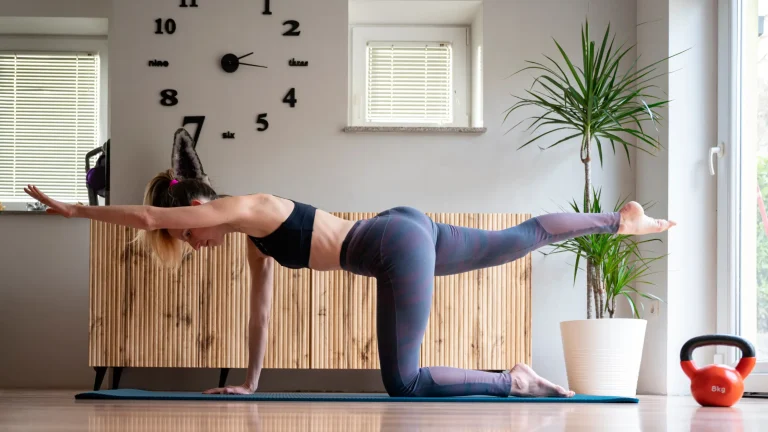
- Start on hands and knees in a table top position.
- Inhale to prepare.
- Exhale as you gently draw your belly button up and in (like zipping up a jacket).
- Hold for 5-10 seconds, maintaining a steady breath.
- Release and repeat 8-10 times.
Pro tip: Keep your spine neutral (not arched!), ribs down, and use a slow exhale to pull your core in.
Bringing It All Together
Postpartum healing isn’t about endless crunches – it’s about gentle, smart movements that teach your core to work as a unit. These seven exercises are a safe starting point for new moms healing diastasis recti. Be patient, breathe deeply, and reconnect with your body – one rep at a time!